Why bathroom planning matters
Whether you are refreshing a compact cloakroom or remodeling a main family suite, planning a bathroom is one of the most rewarding projects in the home and garden category. A well-designed space can improve daily routines, make cleaning easier, and support long-term durability in a room that faces heavy use and constant moisture. Because bathrooms combine plumbing, electrics, ventilation, and finishes in a relatively small footprint, the choices you make at the outset have a big impact on installation, performance, and maintenance. This guide sets out the key considerations so you can approach your renovation with clarity and confidence. It highlights common constraints—like awkward layouts, limited storage, and mixed water pressures—while outlining practical solutions that suit different homes and budgets. Start by clarifying how the space needs to function. A family bathroom might require a shower-bath combination and generous storage, while an en-suite can prioritise a walk-in shower and a quieter aesthetic. Cloakrooms benefit from slimline fixtures and careful door swing planning. It also helps to understand your home’s existing services: where the soil stack is located, which walls can be chased or contain studwork for concealed frames, and what water pressure your property delivers. Mapping these early informs whether you choose wall-hung or floor-standing sanitaryware, concealed or exposed valves, and the best ventilation approach. Style preferences count, but durability and easy care are just as important. Surfaces should resist water and stains, fixtures should be straightforward to maintain, and lighting should support both tasks and relaxation. Safety matters too—slip-resistant floors, tempered safety glass in enclosures, and well-placed grab points can improve confidence for all ages. As you research products, you will find a broad spectrum of designs, from streamlined modern pieces that maximise small rooms to classic forms with softer contours. If you want to see a range of sizes, styles, and price points in one place, browsing the curated collections at wholesaledomestic.com can help you compare options side by side. With a clear brief and realistic timeline, you can make decisions that balance appearance, practicality, and budget without feeling overwhelmed by the number of choices.
Key fixtures and materials
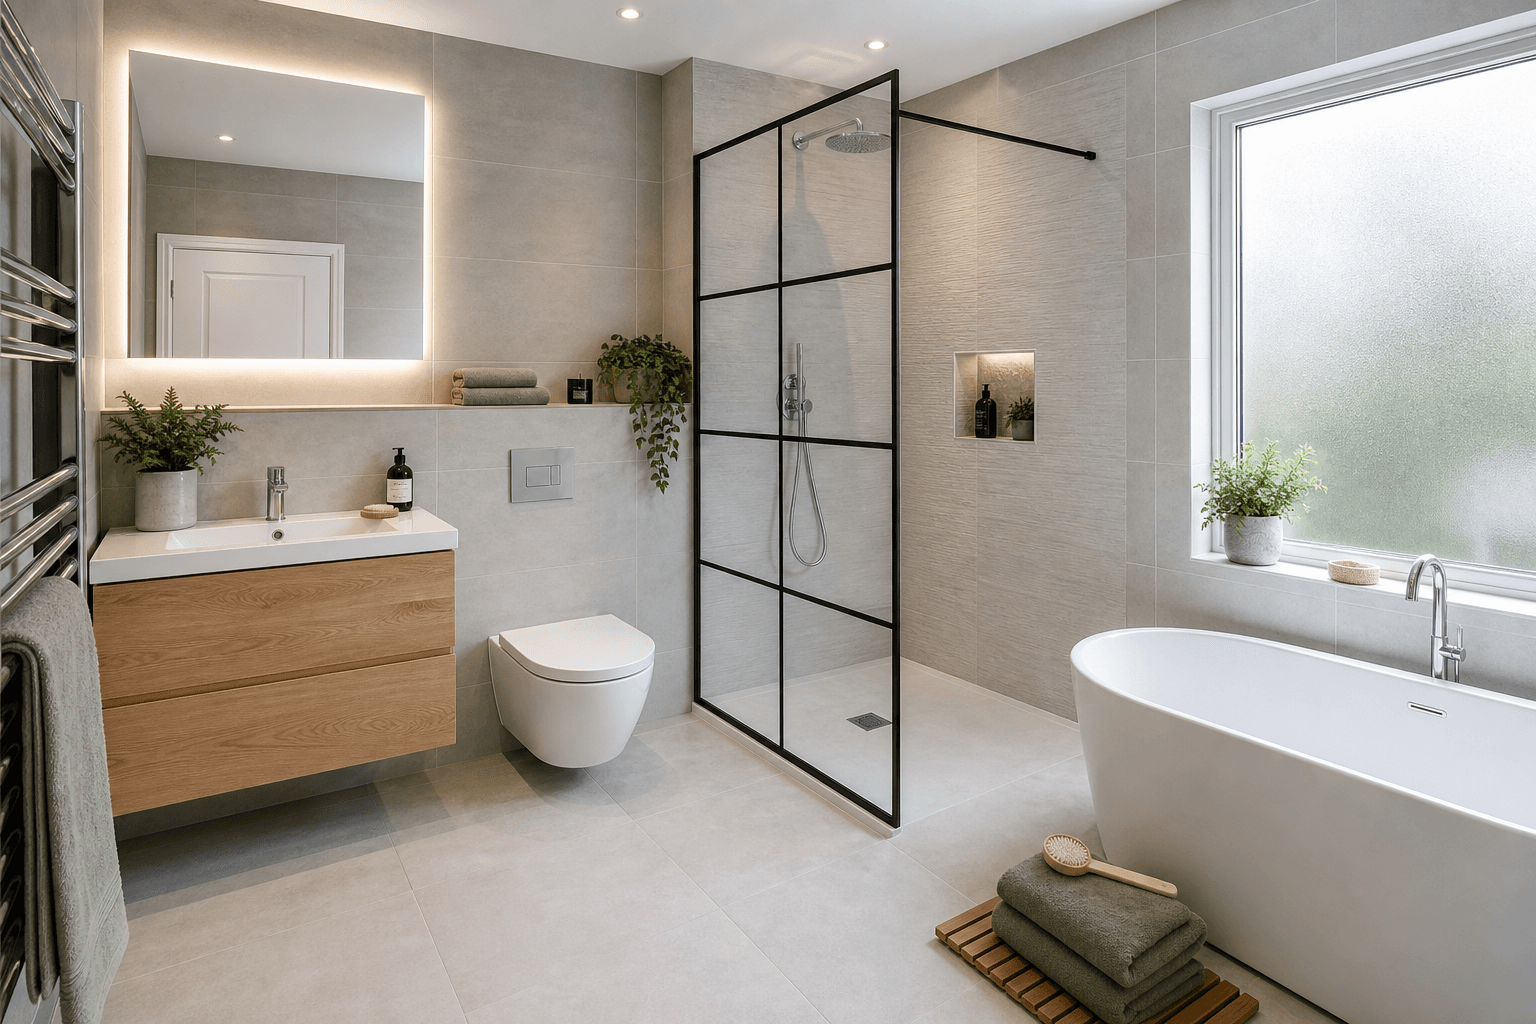
Layout comes first. Mark door openings, windows, soil pipe location, and the positions of radiators or towel rails. Leave comfortable clearances in front of basins and toilets, and aim for efficient circulation—especially important in narrow rooms. For showers, think about water containment: a walk-in panel needs an adequate tray or fall to a drain; an enclosure with sliding or pivot doors contains spray differently and affects usable space. Toilets vary by installation style. Close-coupled suites are straightforward and cost-effective. Back-to-wall pans pair neatly with a concealed cistern inside furniture or a stud wall, simplifying cleaning lines. Wall-hung pans, mounted on a frame, create an airy feel and easier floor access; just allow for the structural frame and service access through the flush plate. Many modern WCs offer dual-flush mechanisms and rimless bowls designed for efficient rinsing. Seat options with soft-close hinges reduce wear and sound. Basins and furniture do double duty as storage and style anchors. Countertop basins on a vanity introduce a focal point and free drawer space, while semi-pedestal and wall-hung basins keep floors clear in tight rooms. Check widths and depths against door swings and walkway needs; slimline vanities can unlock layouts in small spaces. Mirrors and mirror cabinets with demisting features and shaver sockets support daily routines. Choose taps compatible with your pressure—mono mixers with ceramic disc cartridges offer smooth control and low maintenance. For bathing, single- and double-ended acrylic baths cover most family needs. Shower-baths (often P- or L-shaped) work well where a separate shower isn’t feasible. Reinforced acrylic or pressed steel adds rigidity; match end and side panels carefully for a clean finish. Showers span trays and tiles to wet-room floors; common tray sizes range from 760 x 760 mm up to 1200 x 900 mm and beyond. Enclosures use tempered safety glass—6 mm is common, while 8 mm can feel more robust. Thermostatic mixer valves help maintain stable temperature; electric showers run independently of hot-water stores but require suitable electrics and water supply. Heating and ventilation matter as much as fixtures. Heated towel rails provide gentle warmth and drying; size them to room volume and heat loss needs. Extractor fans with appropriate IP ratings for bathroom zones, along with run-on timers or humidistat control, help manage moisture. For surfaces, porcelain floor tiles offer durability; look for slip-conscious textures in wet areas. Luxury vinyl tile and rigid core boards are alternatives where easier installation and warm underfoot feel are priorities. Large-format wall tiles or waterproof wall panels can reduce grout lines and simplify cleaning. When you are ready to compare combinations—say, a wall-hung vanity with a concealed-cistern WC and a 1200 mm sliding-door enclosure—you can explore offers and filter by size, finish, and budget for a clearer shortlist.
Installation tips and budgeting
Translate ideas into a working plan with careful measurement. Create a scale sketch that shows wall thicknesses, stud positions, joists, and pipe routes. If you are considering a wall-hung WC or basin, confirm where a frame can be fixed and how you will access the cistern or services later. Check fall on waste pipes—gradients typically need to be consistent to move water effectively without siphoning traps. For shower floors, ensure the tray or former is fully supported and level, and confirm thresholds so water stays contained. Sequence the job to reduce rework. First-fix plumbing and electrics go in before boarding, tanking, and tiling. Waterproof zones around showers and baths with a suitable membrane or board, not just tile adhesive. Dry-fit fixtures, mark anchor points, and test valves before closing up walls. After tiling or panel installation, second-fix fittings—taps, shower heads, WCs, and basins—can be connected and tested. Silicone seal at changes of plane and around wet areas with a quality sanitary-grade product, allowing appropriate cure time before use. For deliveries, measure access routes, stair turns, and door widths so large items like enclosures and baths can be moved safely. Inspect packaging on arrival, report transit damage promptly, and store panels and boards flat. Order a little extra tile or panel coverage to allow for cuts and future repairs. Keep a clear list of fittings, fixings, wastes, traps, isolating valves, and matching finish accessories to avoid site delays. If you are hiring trades, gather item specifications early so installers can plan fixings, services, and cut-outs accurately. DIYers should be realistic about skills and time; some tasks, especially electrical work, may require qualified professionals. Budgeting works best with a transparent breakdown: allocate funds to core fixtures, installation materials, labour (if applicable), and a contingency for unexpected finds behind walls. Mixing value choices—such as an acrylic bath—with a statement vanity or a quality thermostatic valve can balance cost and experience. Sustainable touches, including dual-flush WCs and aerated taps, can support mindful water use, while slip-aware floors and well-placed grab points can add everyday confidence without compromising style. For product dimensions, compatibility notes, and delivery options, you can visit the official site to review specifications and assemble an order that fits your plan and timeline.
Recap and where to start
A successful bathroom renovation brings layout, fixtures, and finishes together in a way that suits your household, space, and maintenance goals. Begin with a clear brief—who will use the room, which features matter most, and how the existing plumbing and electrics shape your options. From there, choose sanitaryware, storage, and shower or bath solutions that balance function and appearance, and pair them with ventilation, heating, and lighting that support comfort and longevity. Durable, easy-clean surfaces and sensible sealing details help the room age well. As you refine choices, confirm dimensions and compatibility across items such as frames, basins, taps, wastes, enclosures, and trays. Plan sequencing to protect waterproofing, keep services accessible, and minimise disruption. A realistic budget with a small contingency allows you to respond to surprises behind walls or under floors without cutting corners on essentials. Whether you prefer sleek minimalism or classic lines, the wide variety of sizes, finishes, and accessories available means you can tailor an attractive, practical result for almost any footprint. With a measured approach and dependable product information, it is straightforward to build a confident shortlist, finalise a schedule, and move into installation with fewer unknowns.